Nyheder
Bestsellere
Lær alt om Dreadlocks
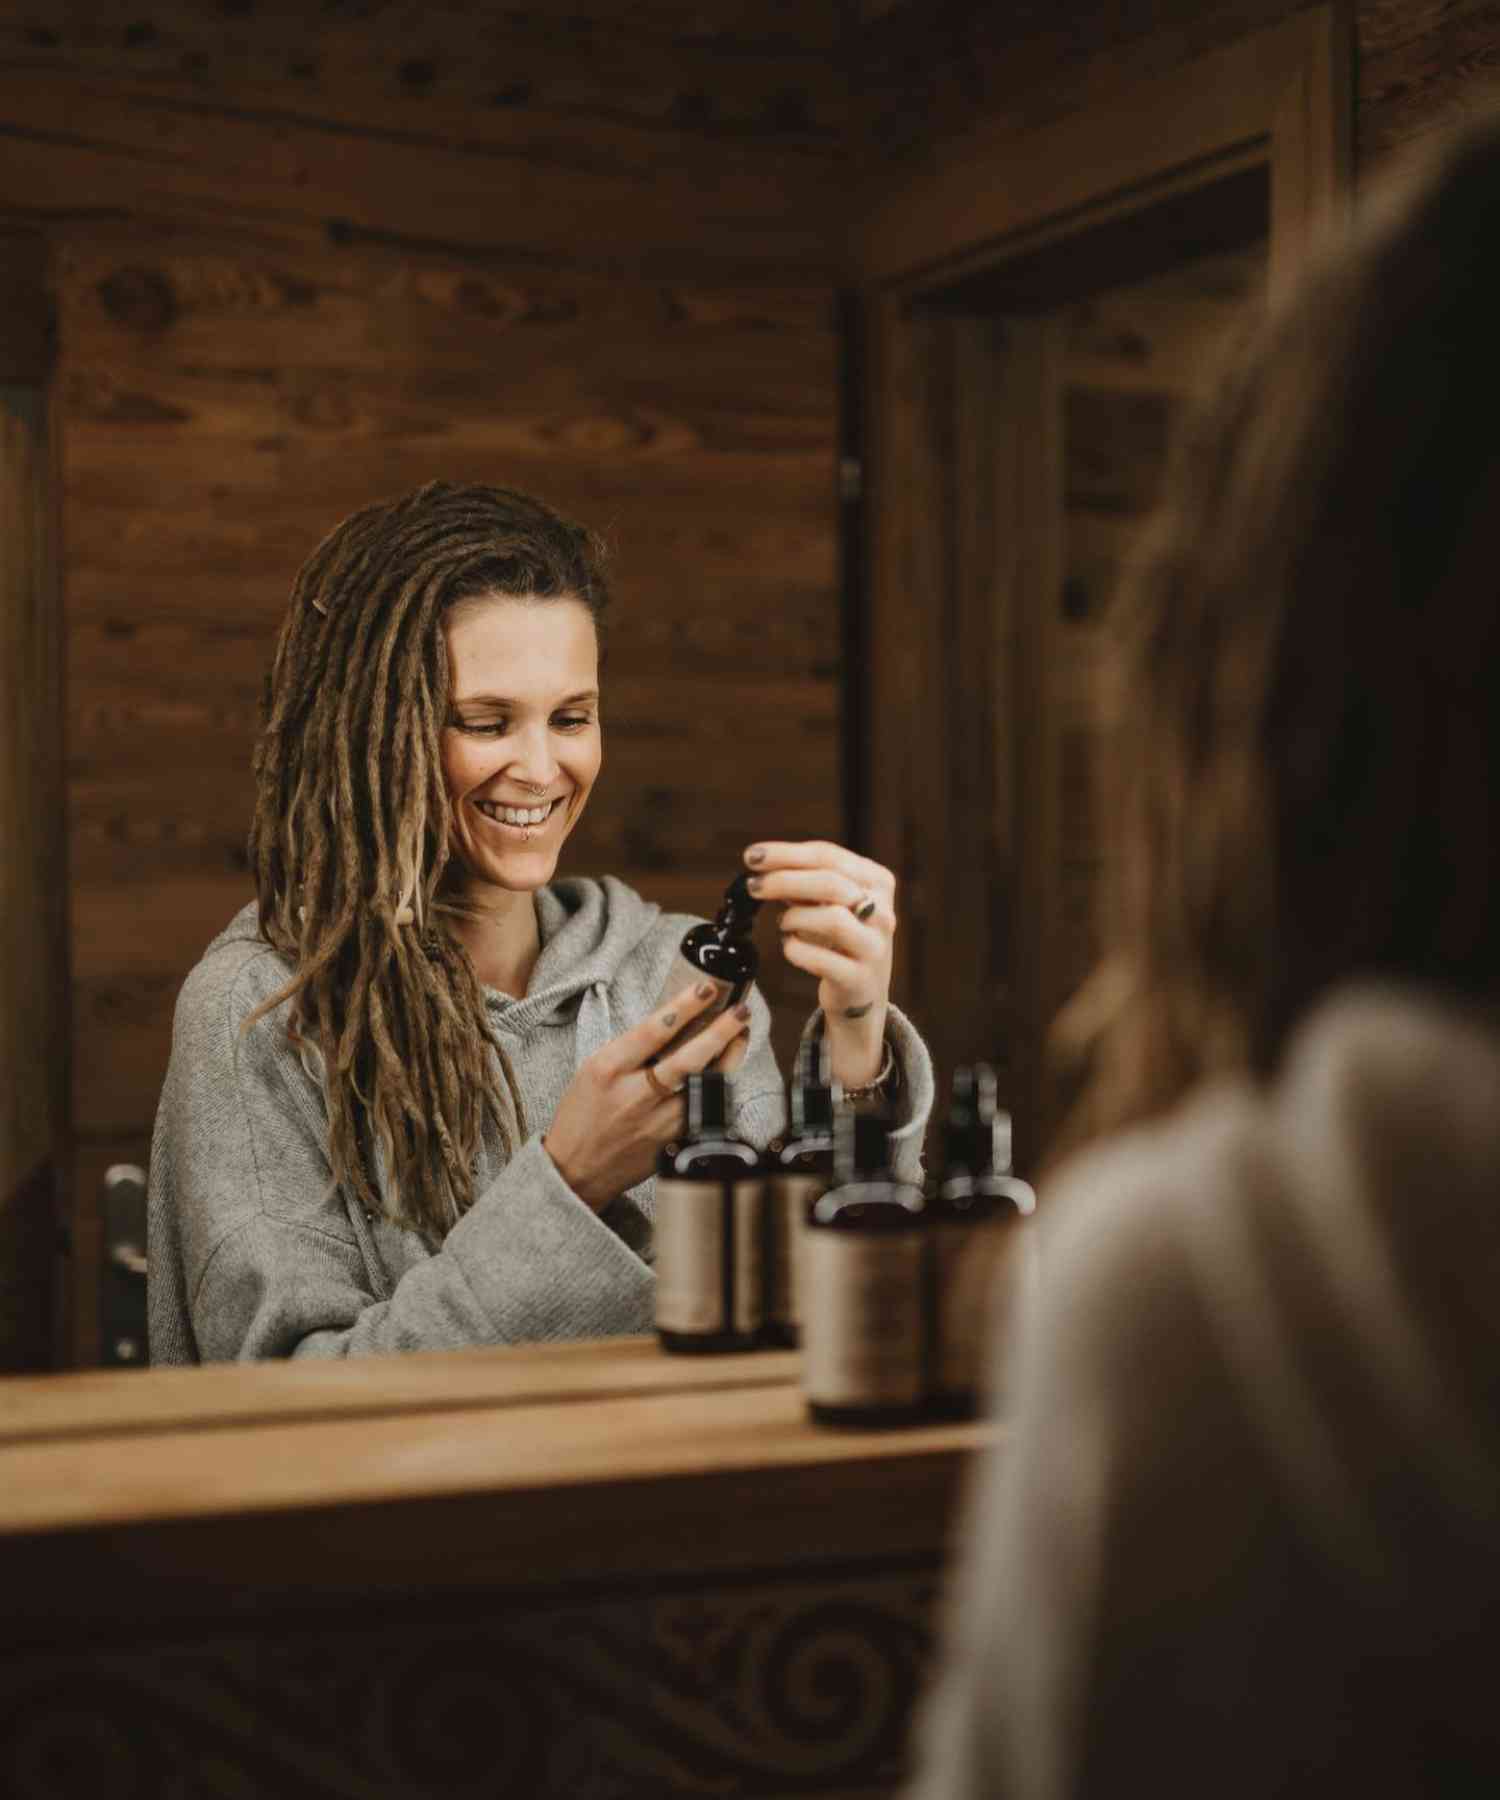
Produkter uden Sulfat
100% Genanvendt Plastik
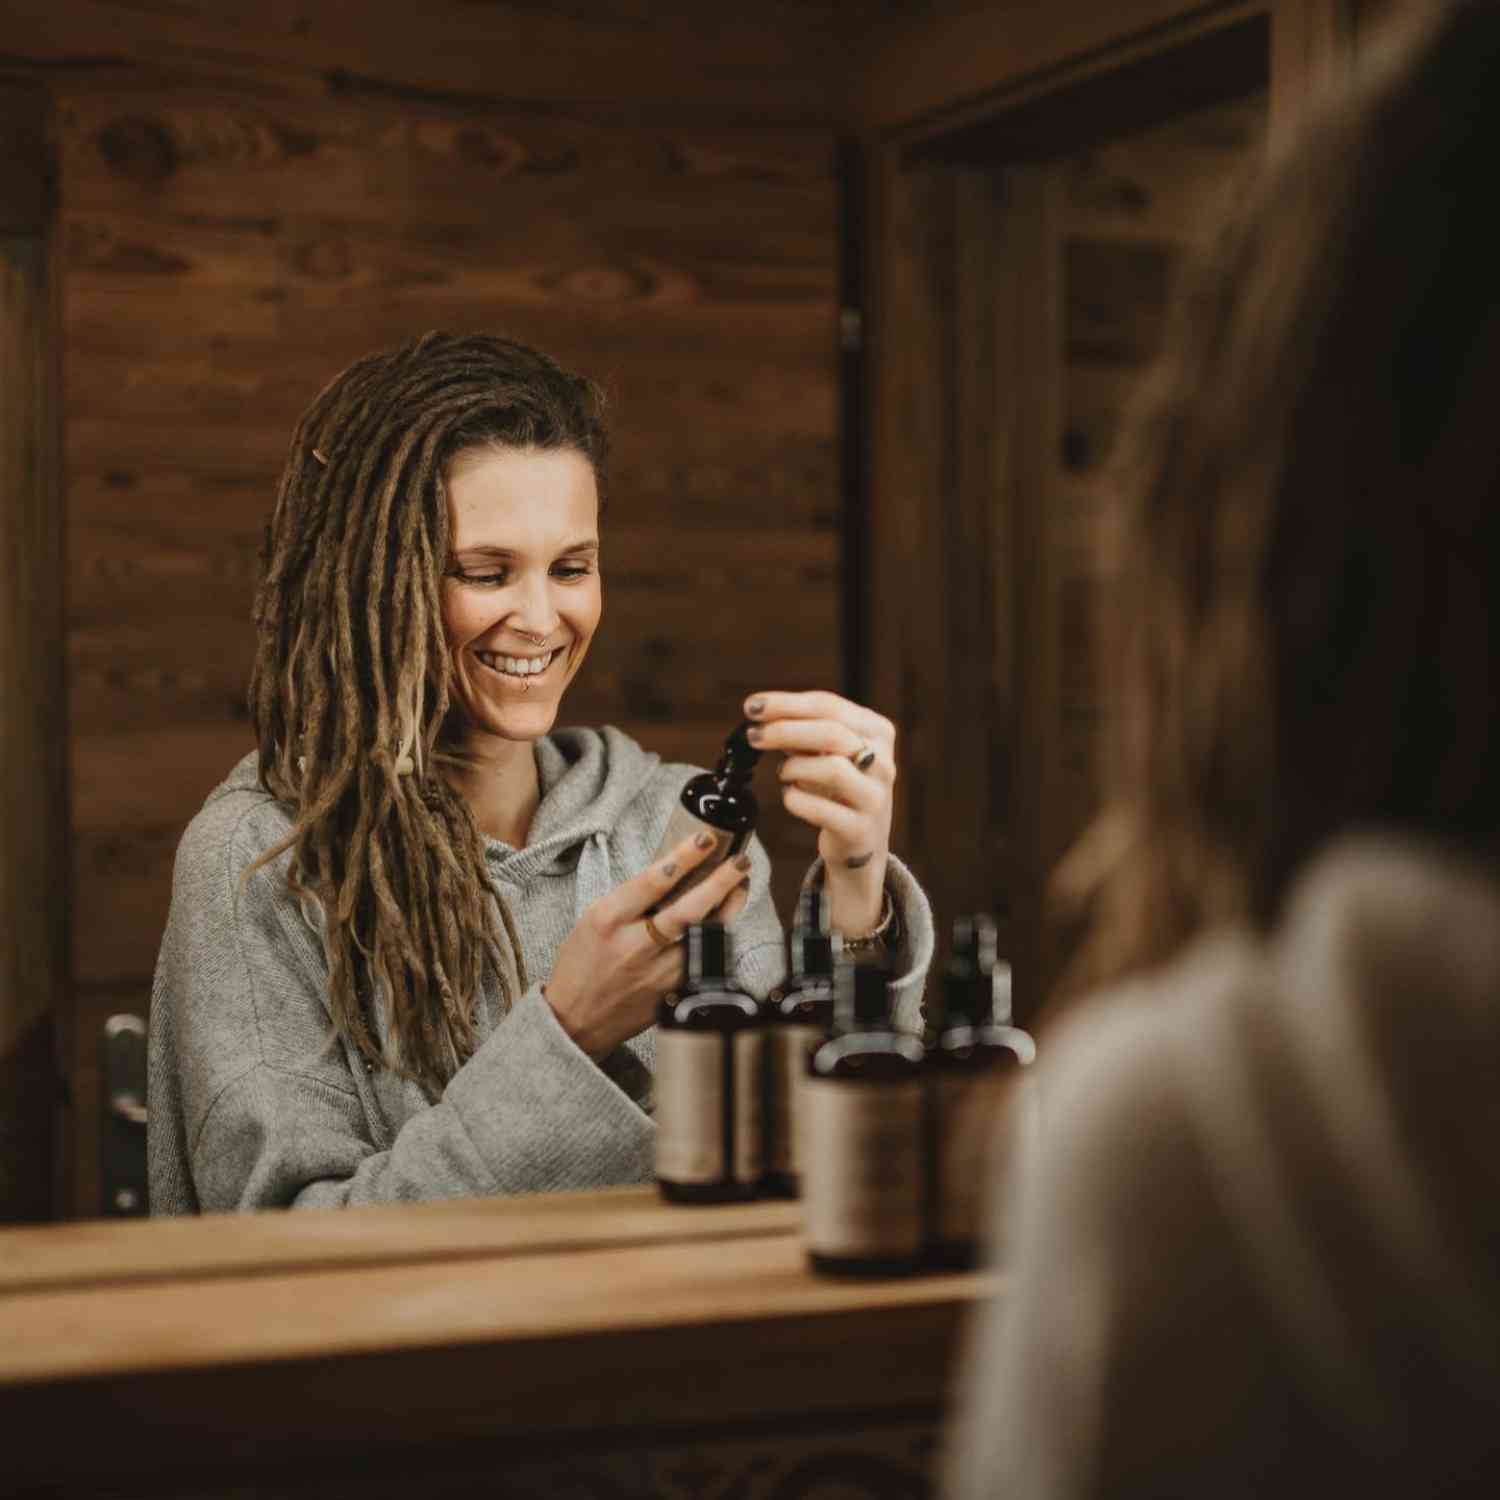
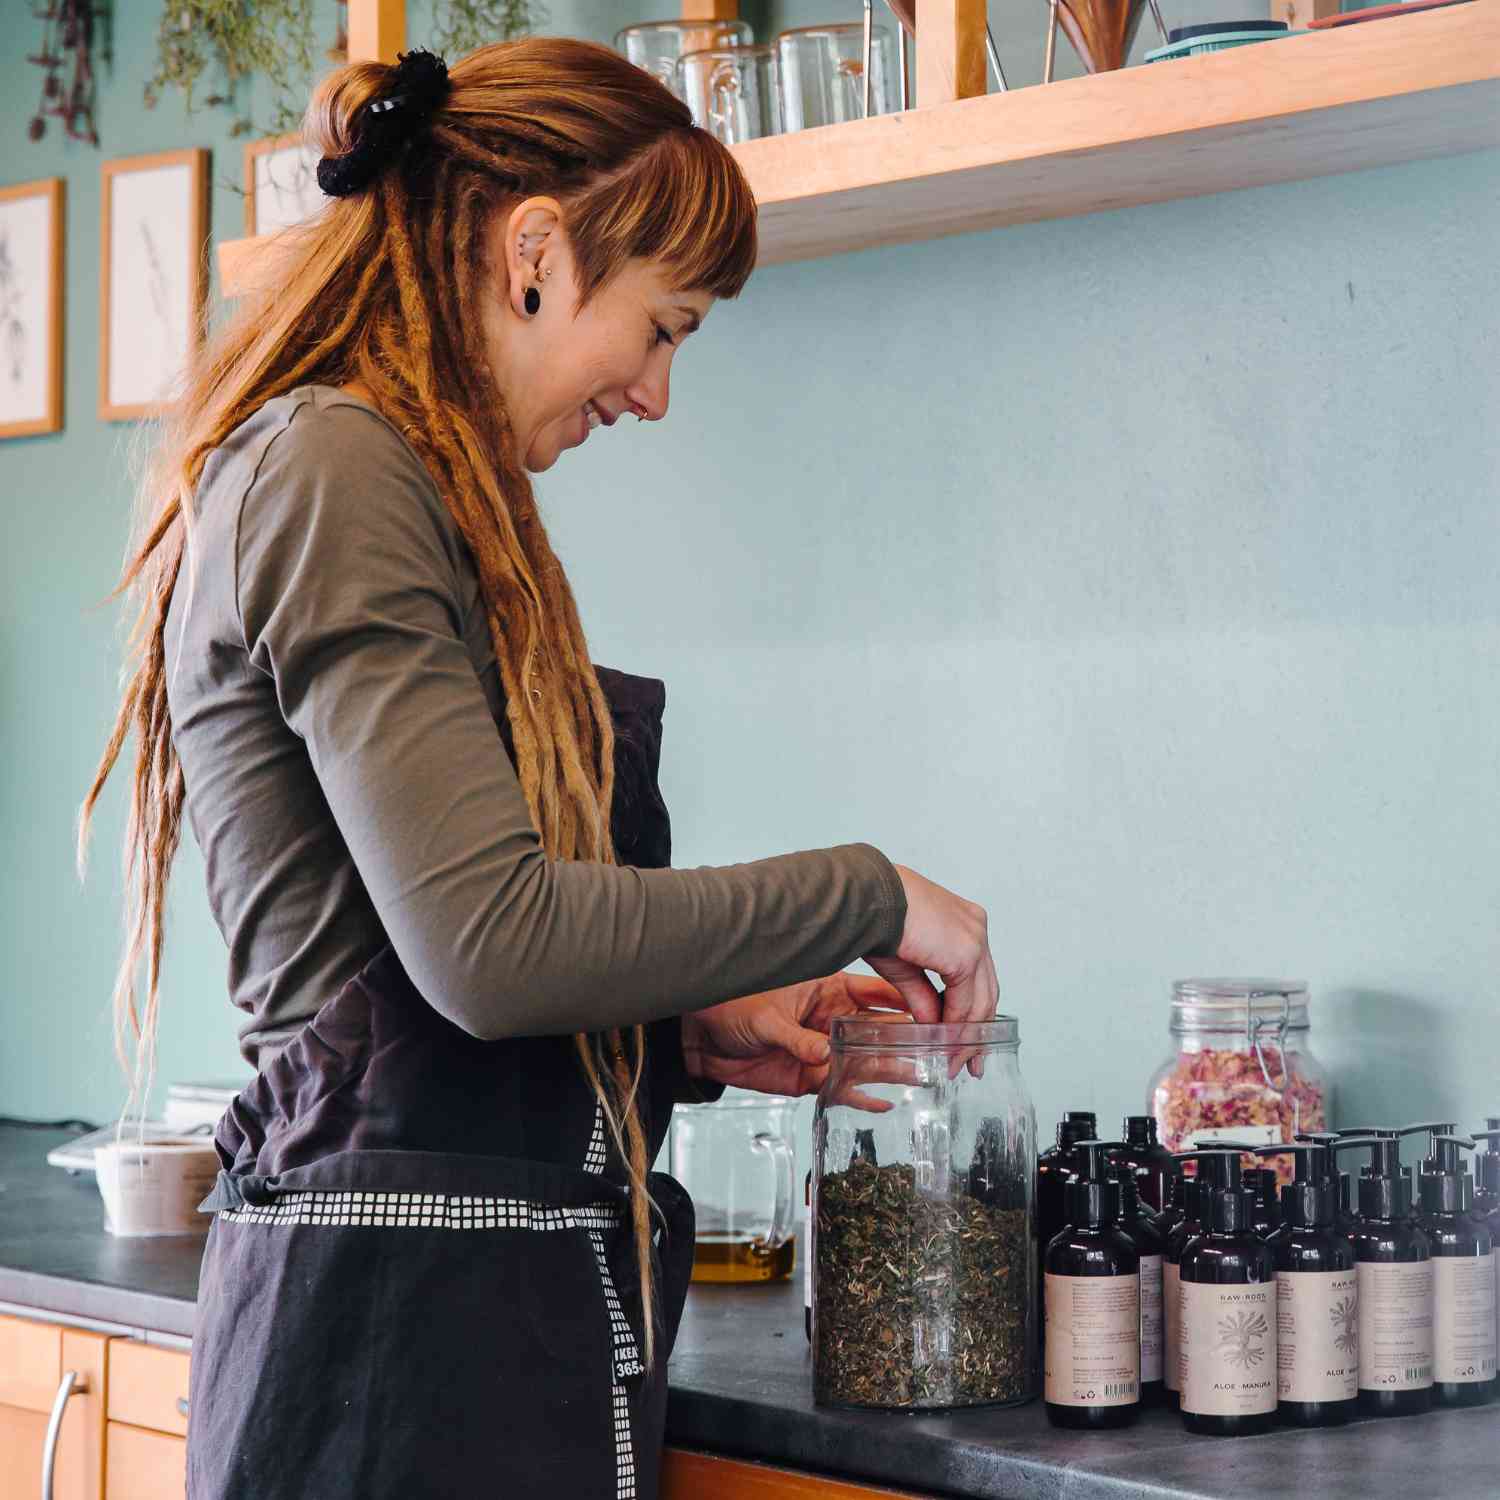
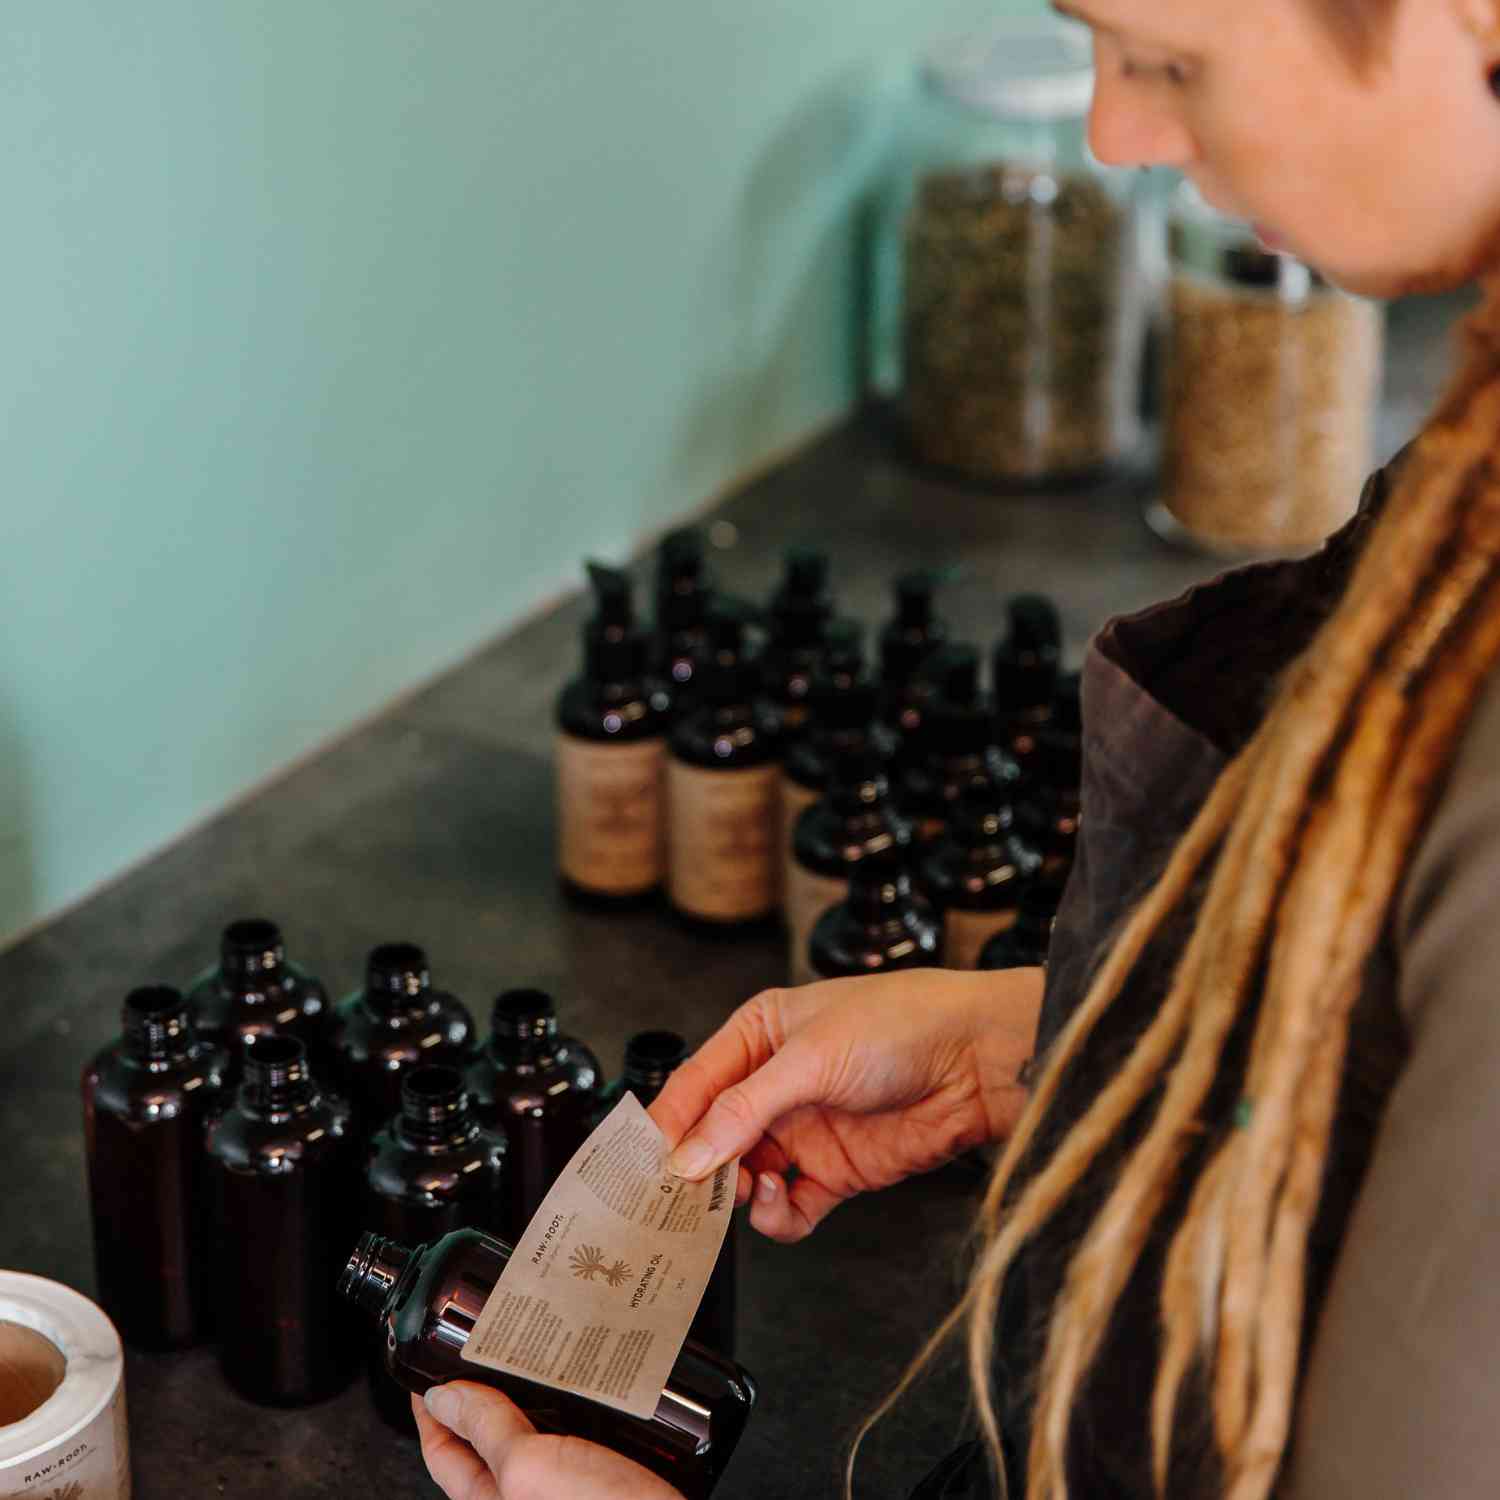
Rene produkter til alle
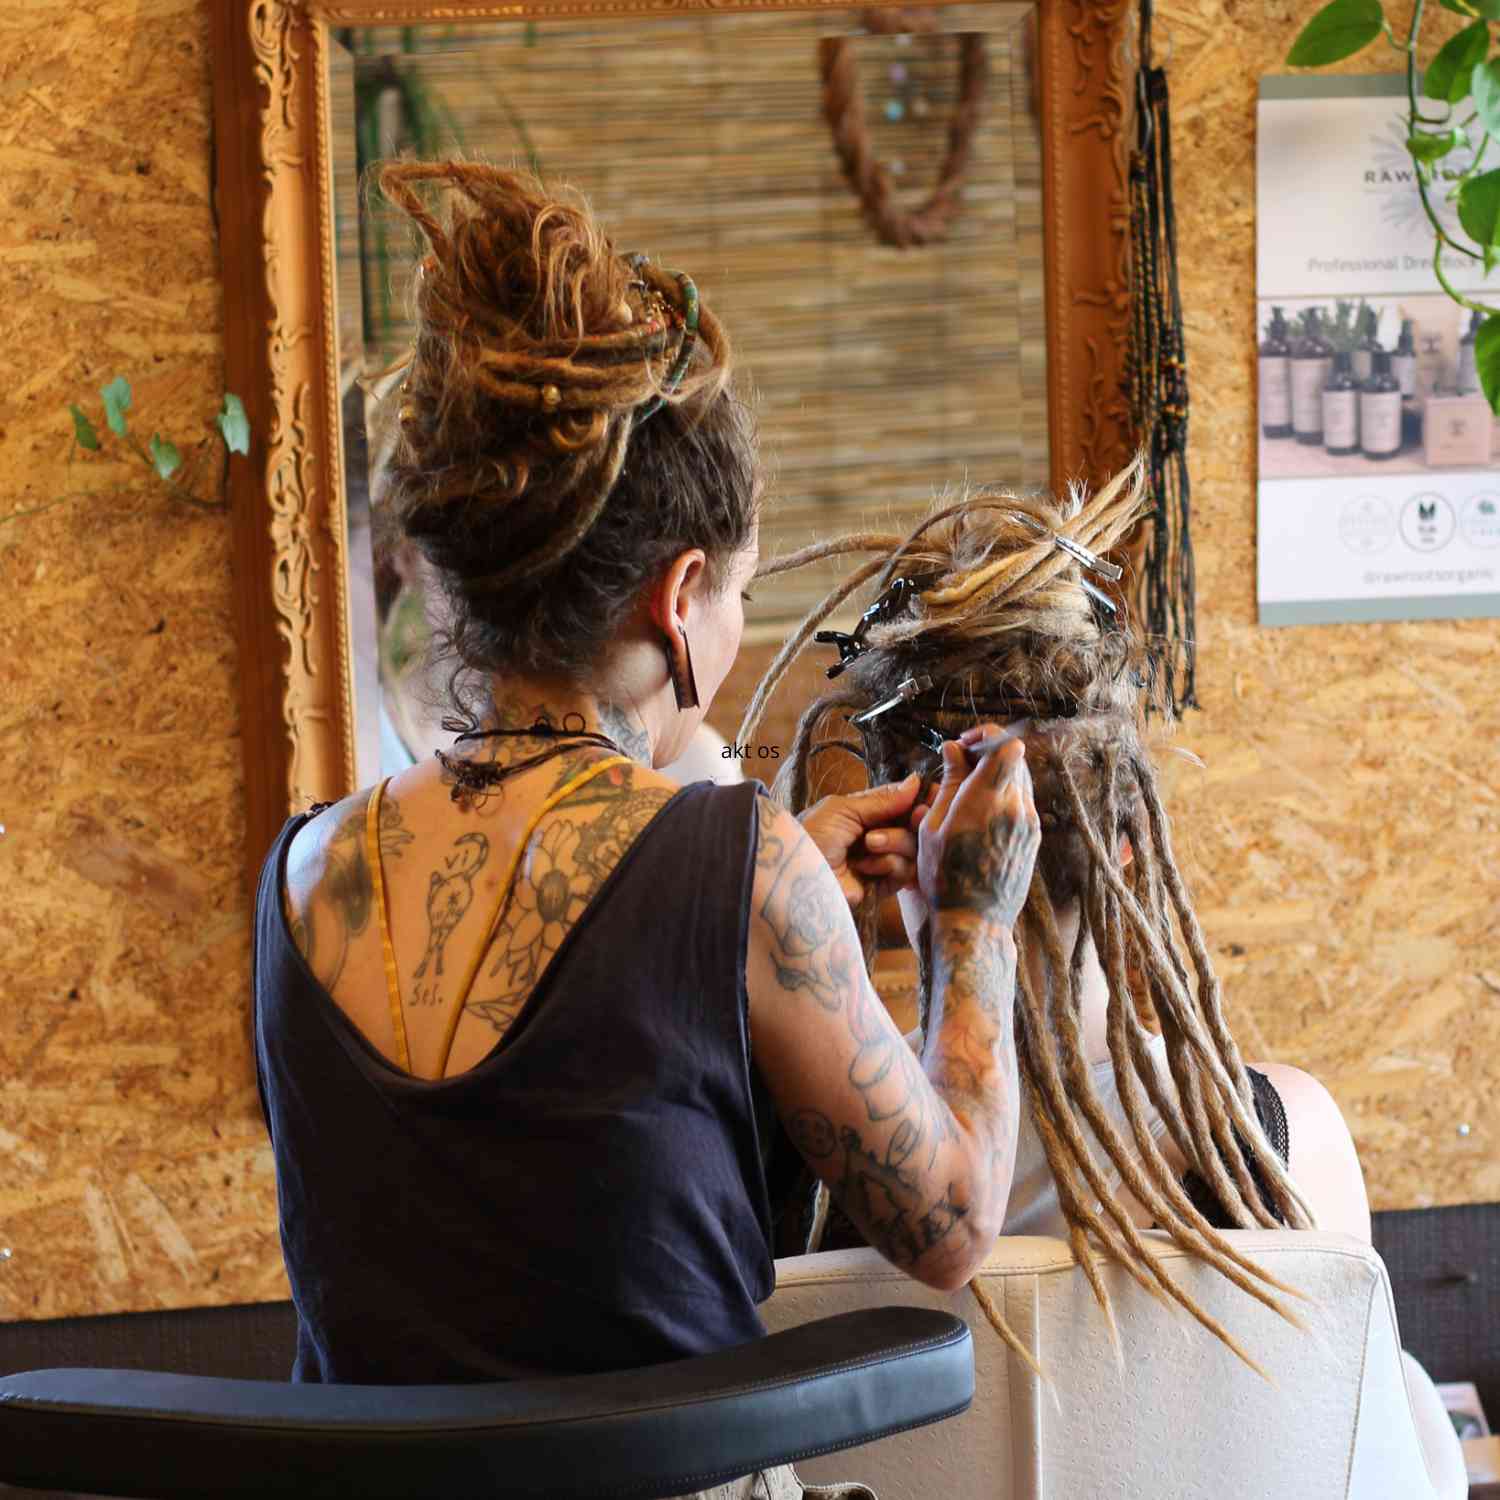
Find Dreadlock Frisør
Forberedelse til Dreadlocks
Kontakt os
Land
Sprog
Din indkøbskurv er tom
Dreadlock Produkter
Dreadlock Extensions
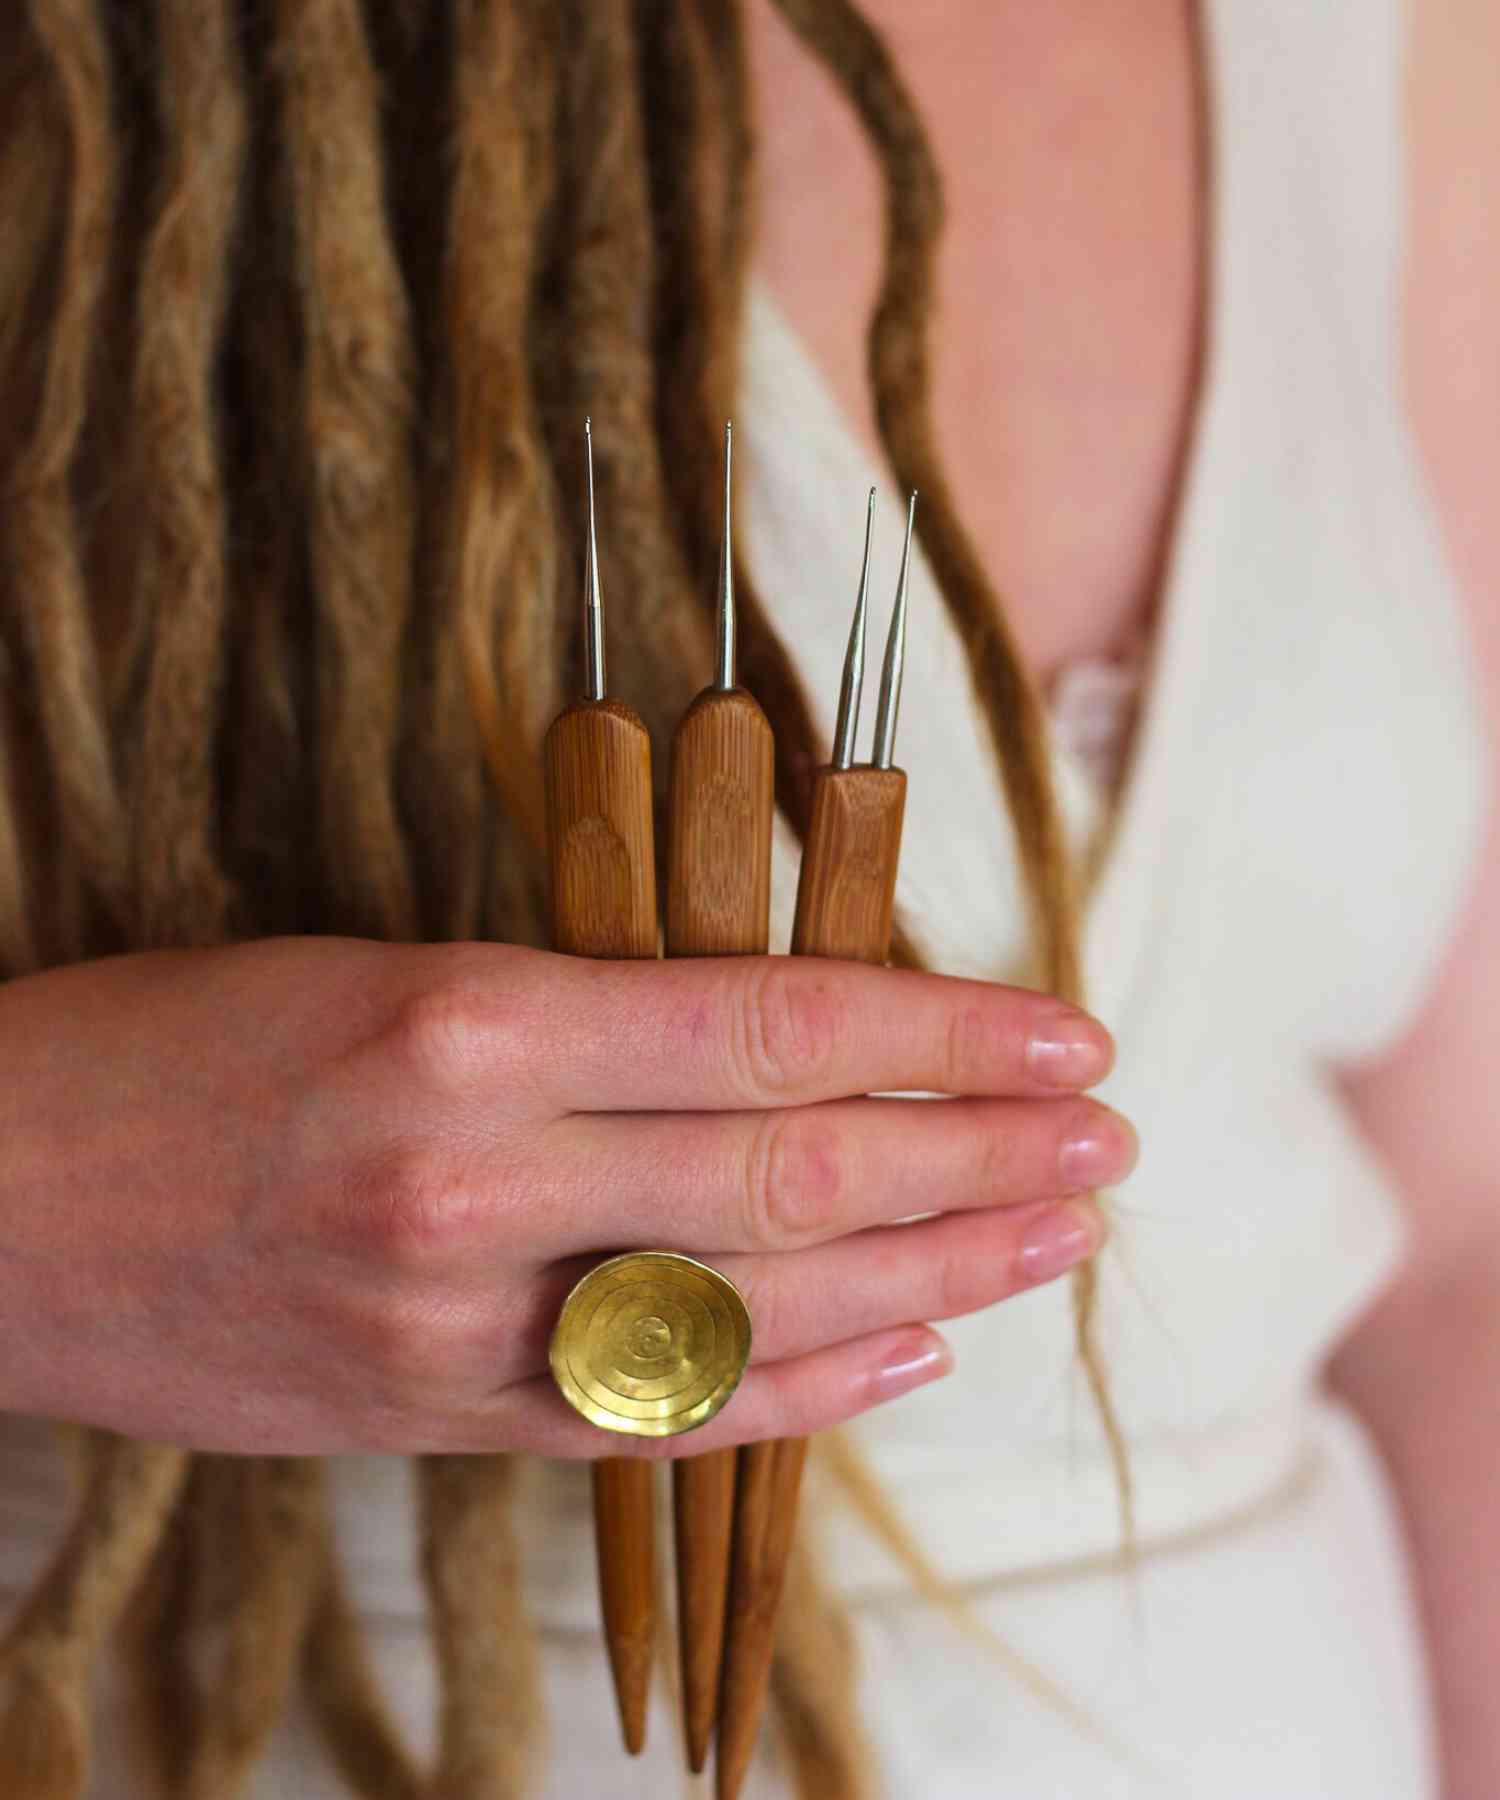
Dreadlock Tools
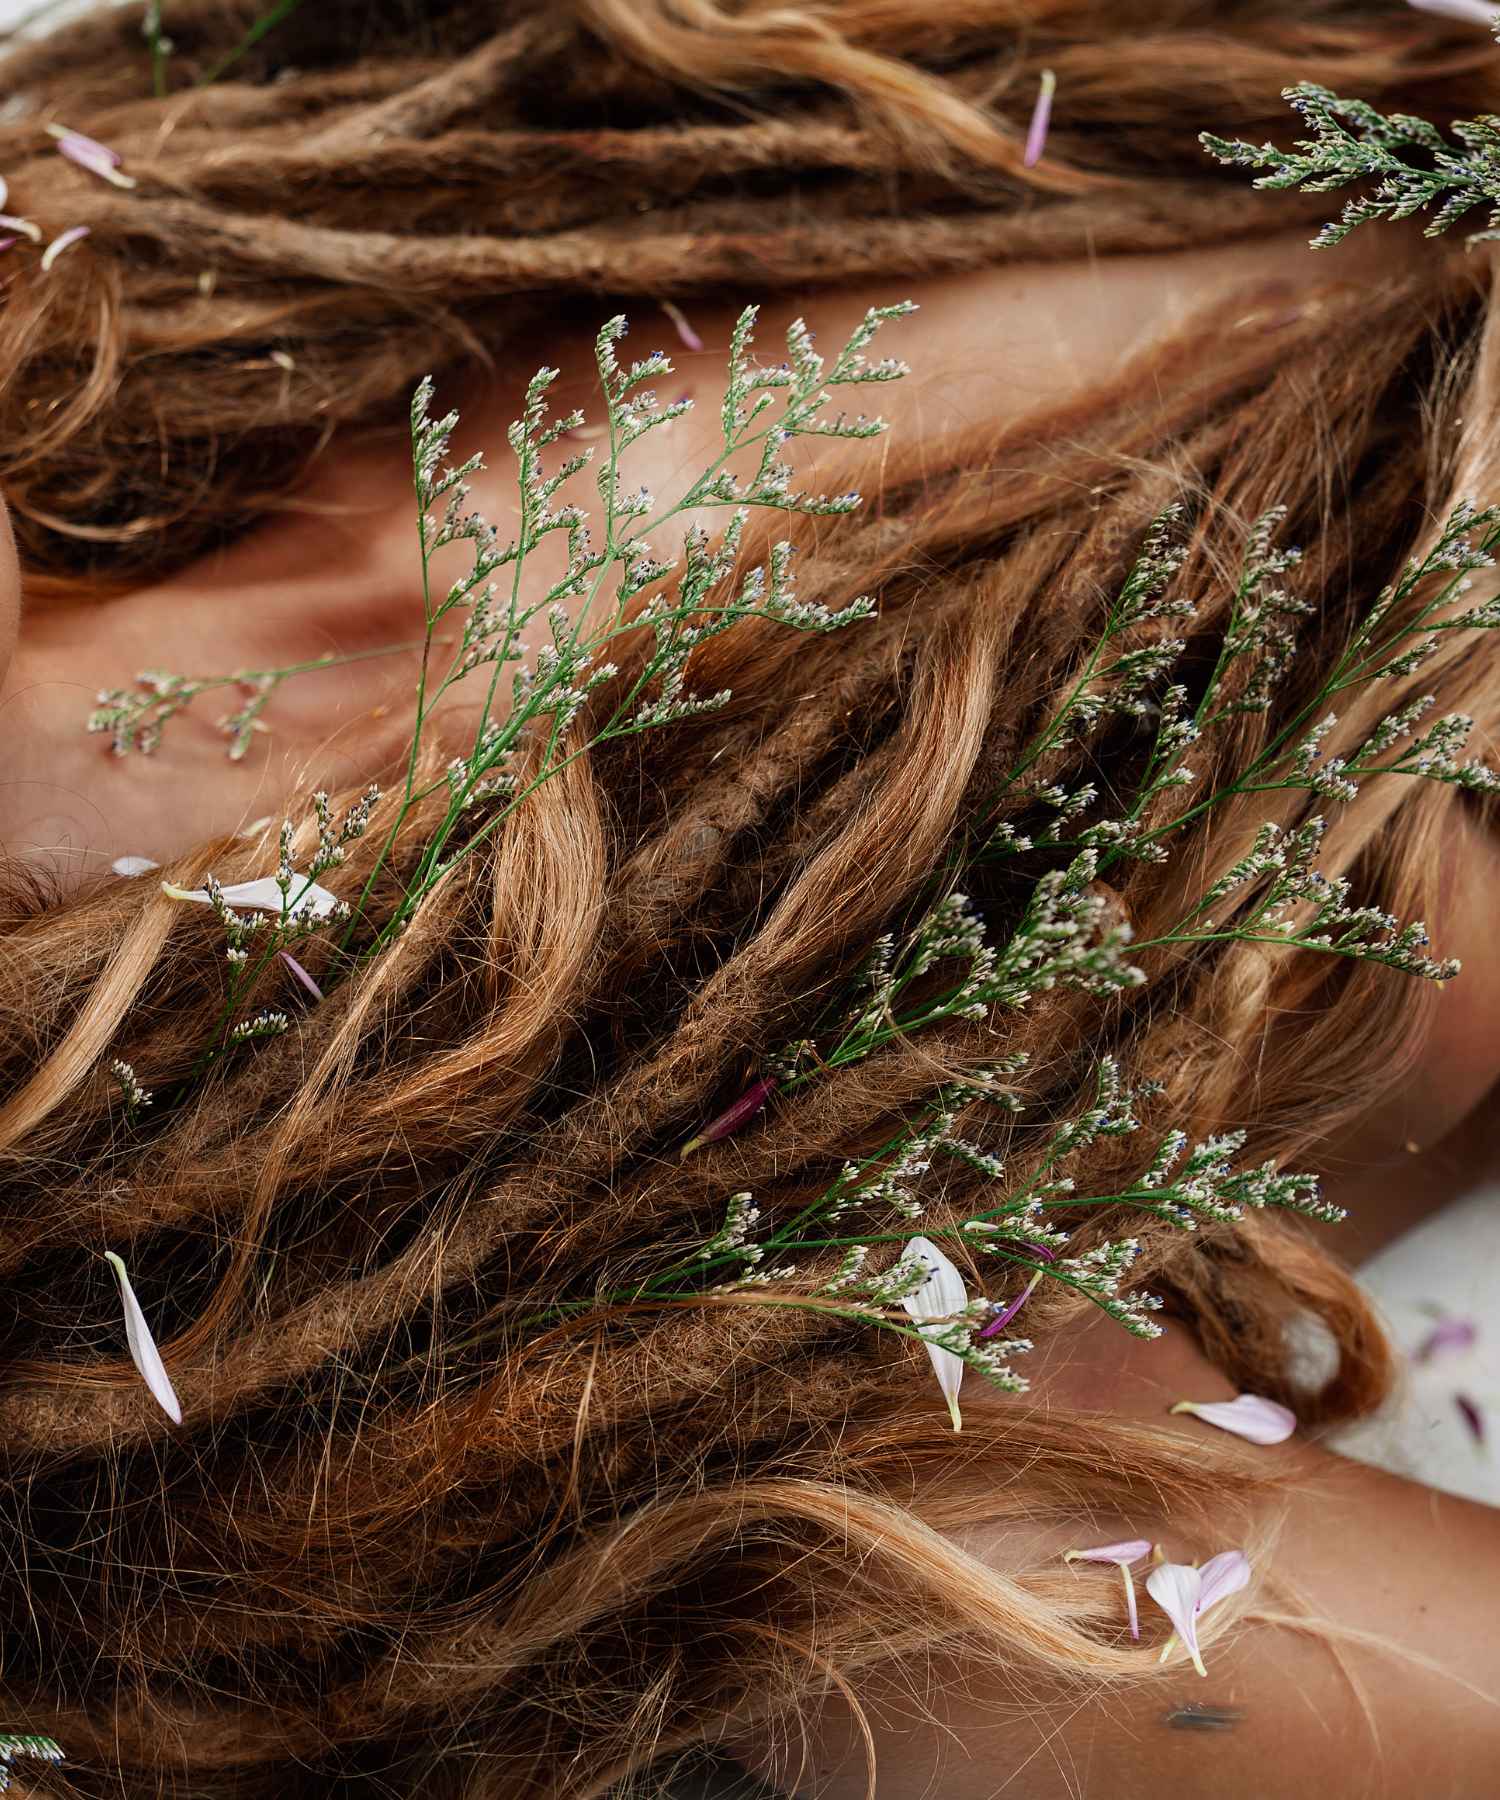
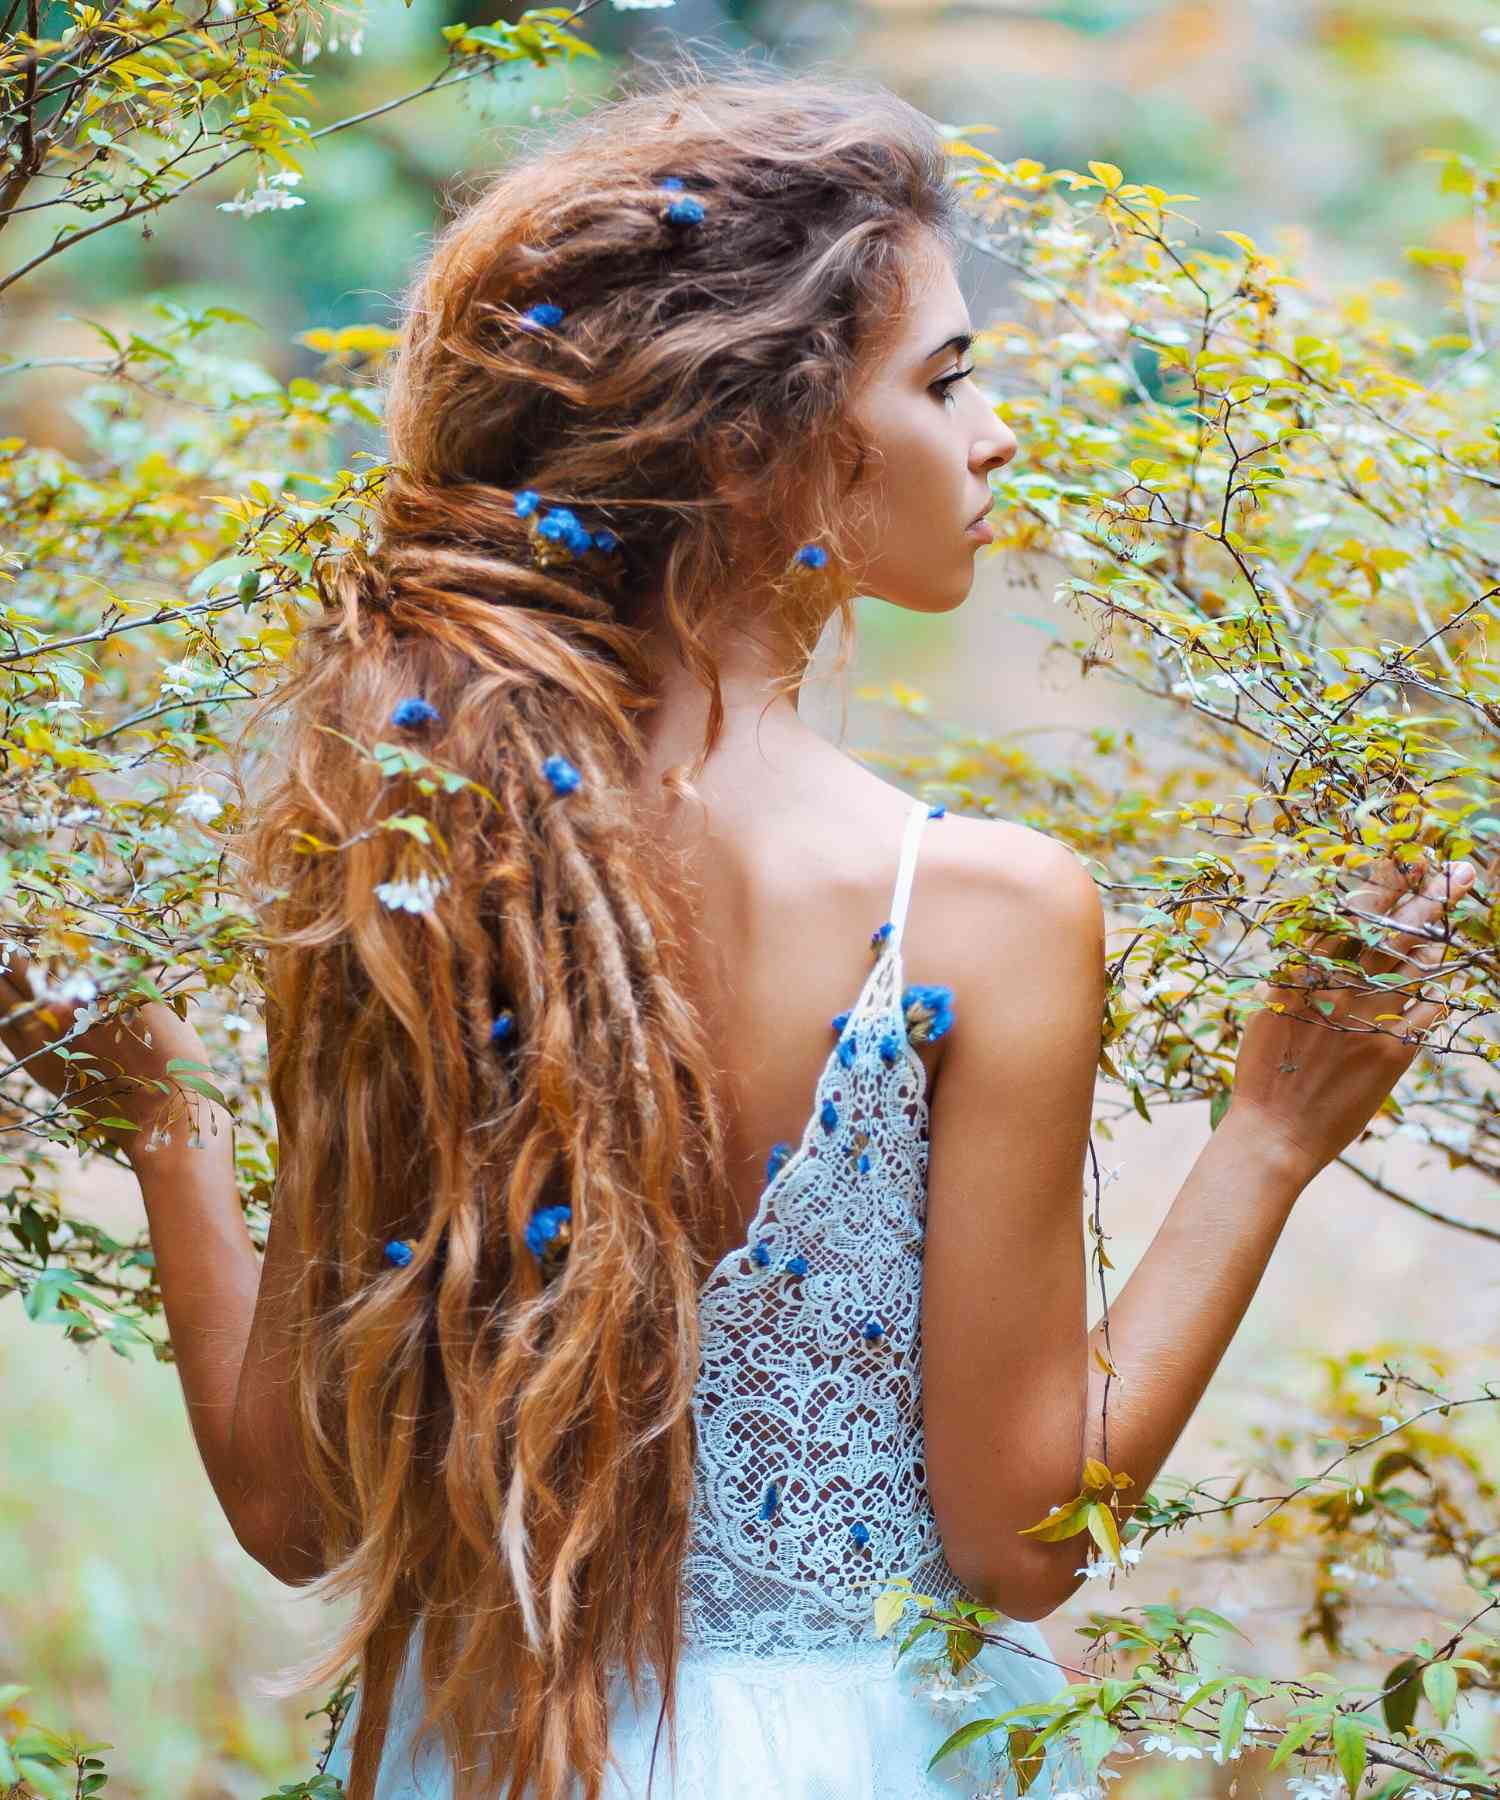
Dreadlock Udsmykning
Accessories
Life Style